5 Reasons I Love Using Boom Cards for Centers
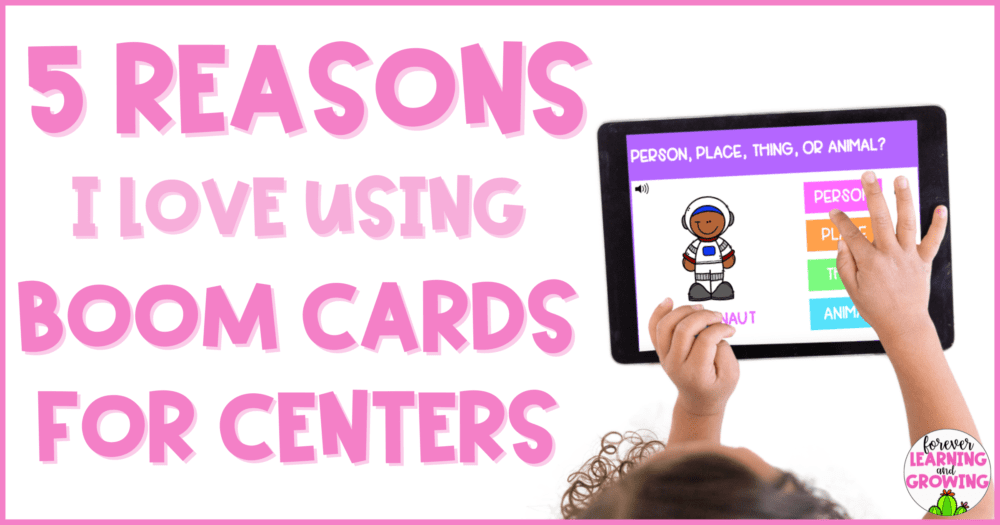
The great thing about Boom Cards is that you can use them for so many things- I use Boom Cards for centers, occasional small groups, independent practice, and even some whole group lessons. Today I want to dive into 5 reasons that Boom Cards make great centers:
1. Boom Cards are Self-Checking
Probably one of my favorite things about Boom Cards for centers (and just in general) is that they are self-checking.
I always think back to the time my principal did a walkthrough and gave me my “grows and glows” for her observation. She came in during math centers while some of my students were playing a game reviewing a concept. After leaving the classroom, she left a question in my “grow” section of feedback: Did I have a way to make sure while I was teaching my small group that students were correctly playing the game (i.e. getting the answers correct)?
We had a great discussion about this and she even agreed she wasn’t sure of a solution for all of the time. I had lots of games that had QR codes and keys, but not every game lends itself well to that. However, this comment has always made me really think intentionally about my centers, making sure I add a check component, if possible, or consider how successfully students could play it on their own.
Creating QR codes and keys can take a lot of work; in addition, I’ve definitely caught kids over the years try to scan or look at the answer early. This is why I love the fact that boom cards are self-checking. There’s no having a student complete a whole game practicing a skill the wrong way. Each card gives students instant feedback on if they got it right or wrong (and makes them find the right answer instead of just moving on).
As students are playing through the deck, they earn a diamond point for each card they get correct on the first try. Which leads to the second reason why I like using Boom Cards for centers…
2. You Can Set Diamond Point Goals for Your Students
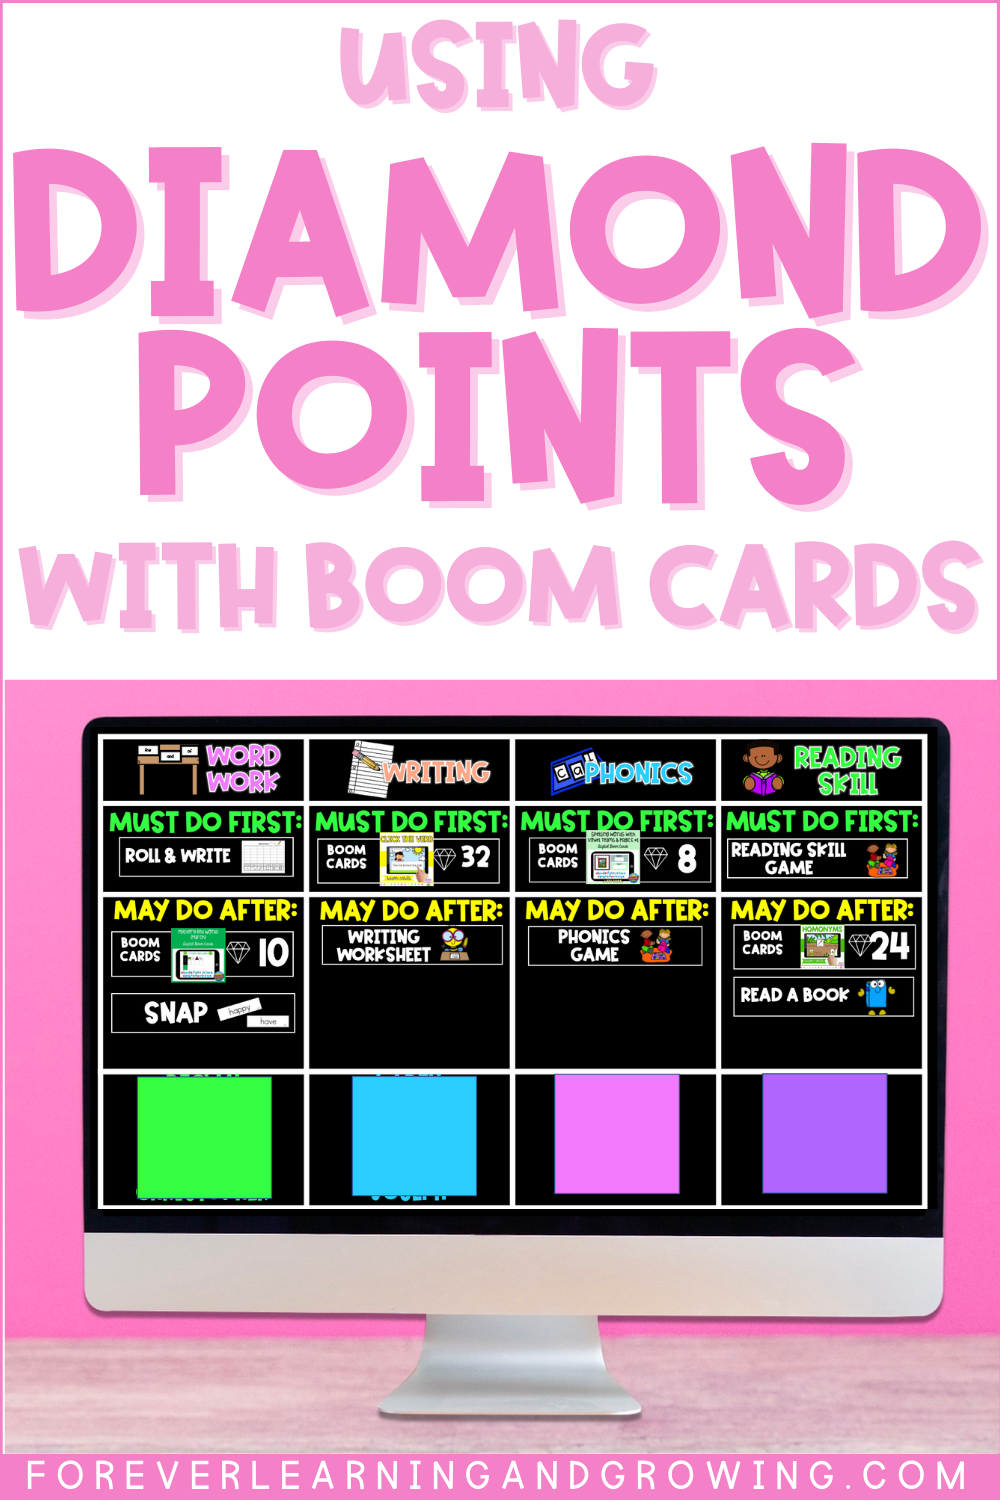
Whenever I assign a Boom Card deck for centers, I tie a diamond point requirement/goal that they have to meet before they are “done” with that deck. I like to generally make that be about 80% of the cards correct. For example, if there are 50 total cards, I would set the diamond points they need to get to 40.
While most of my students are great about always trying their best, I’ve had a student go through an entire deck just wild clicking everywhere. This is why I like having a diamond point goal– students can’t move onto the next activity until they have met it. It helps encourage students to try their best every single time.
With diamond points, students only earn a diamond point if they get it correct on the first try that round of playing the deck. If a student finishes the deck and only got 15/30 diamond points, they can play it again to earn more back; however, they’d have to correctly answer the questions they missed last time on the first try in order to gain back those diamond points. When students have earned 80% or more of the diamond points for that deck of card, to me they have demonstrated mastery of that skill.
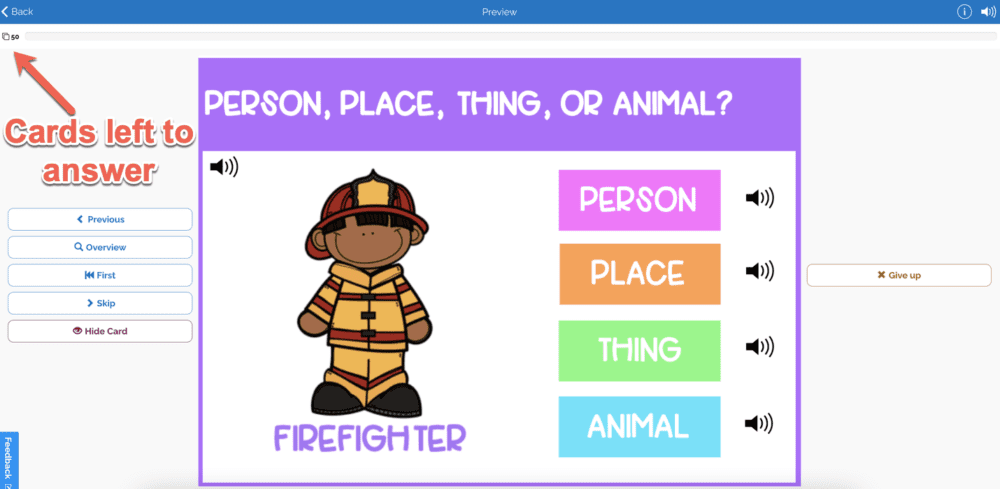
This year especially I had some students get confused on diamond points so I do want to point this out. While the student is playing the deck of cards, the number of cards in the top left hand corner is how many cards are remaining for them to answer. I had one student think they met their goal really quick (only answering 1 or 2 questions) but I had to point out they just had a lot of questions left to answer.
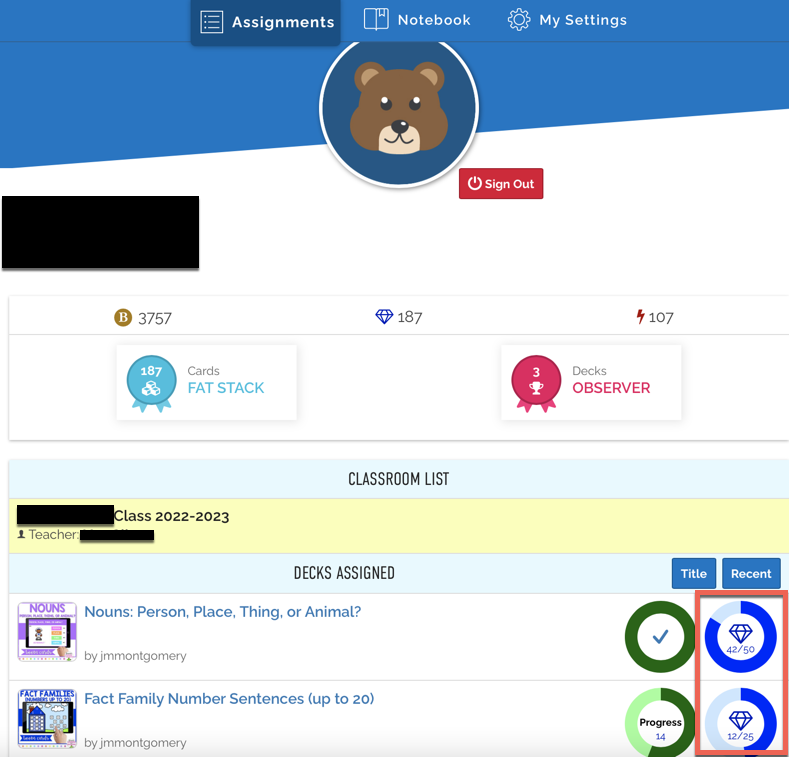
Students can check their diamond points on their main page once they log in. For each deck it will show how many diamond points they have earned out of how many possible diamond points. This is also something I had to teach my students about since they aren’t used to seeing __ / __. I had to explain that the first number is how many diamond points they’ve actually earned while the second number is the total possible number of diamond points.
How can you check your students’ diamond points easily? That goes with my next reason I love to use Boom Cards for centers…
3. Boom Card Reports Give Great Insight Into Skill Mastery
In my next post, I intend to do a full explanation on how to view Boom Card Reports and all of the really cool features that are available. For now, I want to focus on the diamond points I have been discussing.
When you are logged in, you can click on “Reports” at the top of Boom Cards and then you’ll select your class. It then gives you the option to view a report for any of your Boom Cards in your library. I tend to stick to the “currently assigned” section. You can click on multiple decks at a time to see data or just stick to one. I just clicked on my Nouns Boom Card Deck and could view data for each of my students.
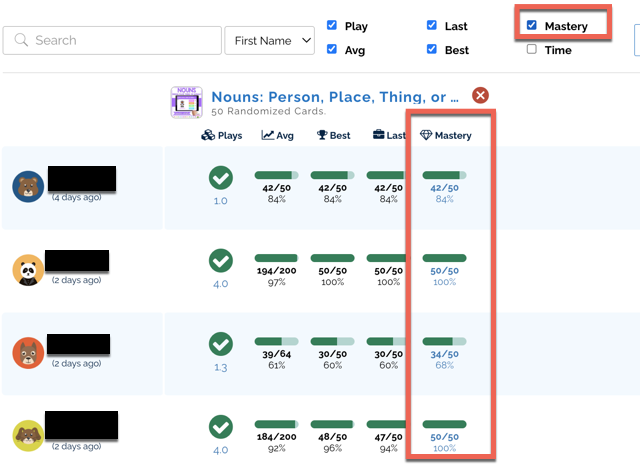
To see diamond point mastery, make sure to click on “Mastery” under the categories you want to see and then a column will pop up showing the number of diamond points each student has earned. This data is great because it shows you how students are coming along in their skill mastery. If I notice a student is having a hard time earning their diamond points, that is a red flag to me that I might need to pull that student into a small group or re-teach this skill to them.
4. You Can Use the Same Boom Cards for Centers Over and Over Again
One thing I love to do in centers is spiral review content. Since students are completing centers independently, they should be able to successfully practice most of the skills that are assigned. An easy way to spiral review content in centers is to use your Boom Cards for centers (and more than once)!
For example, I just had my students do the Nouns Boom Card deck this week after we had learned all about nouns last week. In a month or two, I could have student complete this same deck again to make sure this content stays fresh in their minds! Since I like to make my students earn diamond points each time they play a deck and a lot of them already have earned most their diamond points, I would reset the diamond points before having the play again.

To reset diamond points, go to reports like I explained above and click on the deck you want to reset so it shows the student data below. Next, click on the name of the deck (it is hyperlinked– see the picture above) and it will take you to a report page that is formatted slightly different. If you scroll all the way to the bottom, there is a box outlined in red that says “Delete All Data”. If you click this button, it will get rid of all the previous student data and it will be like the students have never played the deck before.
Now when you assign the deck again, students’ previous diamond points will not show up and they will have to start over in earning them!
5. Students Can Complete Boom Cards Independently
My fifth reason I love using Boom Cards for centers is that students can complete these decks entirely on their own. When I am pulling a small group, the last thing I want is for my students to come up and start asking me questions about what the question says, what a task card says, how to play the game, and so on.
On nearly every deck I’ve made, I’ve added audio support and/or directions so that students know exactly what each part of the card says and can know what to do even if they can’t read quite yet. Boom Cards also have the ability to have a directions slide with audio support as well to explain how to play.
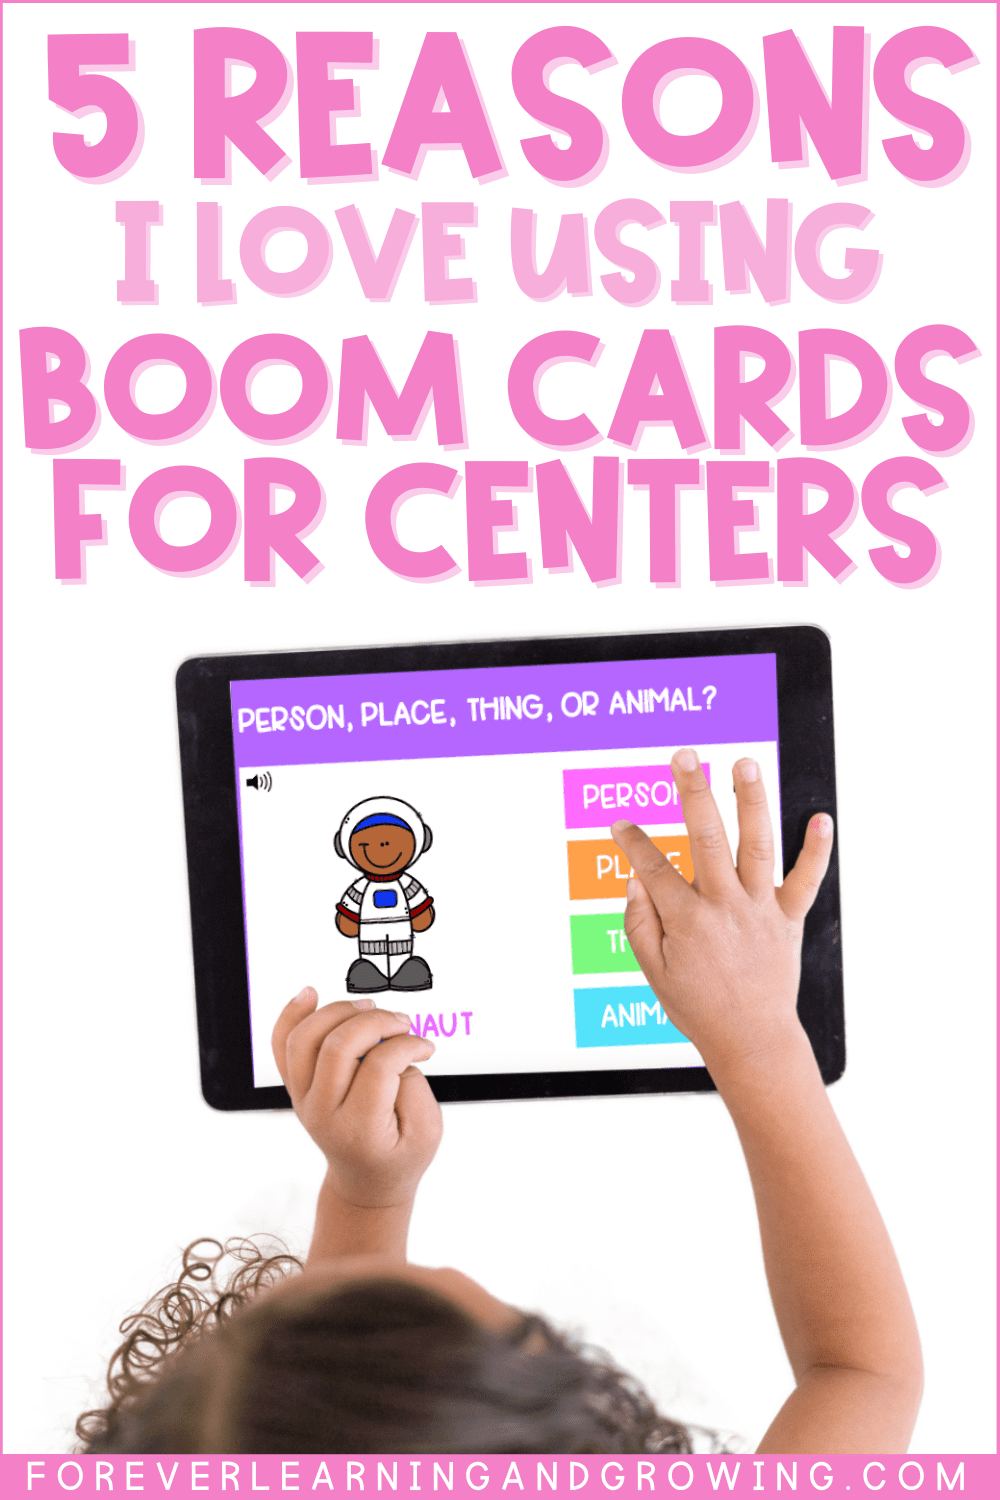
For example, with the Nouns Boom Cards I’ve referenced already, I have lots of audio support. Students can click to hear the noun (on this card, astronaut) and then click beside each answer choice to hear person, place, thing, or animal. All this audio support takes away any barriers beginning readers might have and truly just assesses the target skill: can the student categorize the noun?
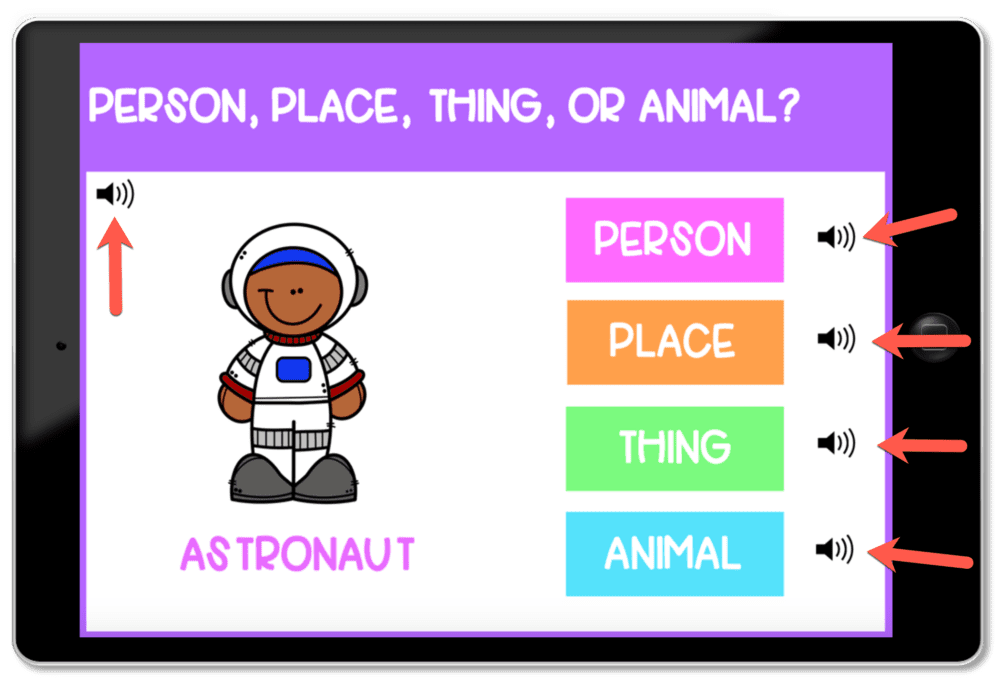
Even given all of these audio supports, I do tend to just briefly project and show a new Boom Card deck (if it’s formatted a little differently than ones they’ve done before) so that students have a general idea of how to play the deck. My introduction plus the audio instructions tend to ensure students always feel confident in how to complete the deck.
Are You Ready to Use Boom Cards for Centers?
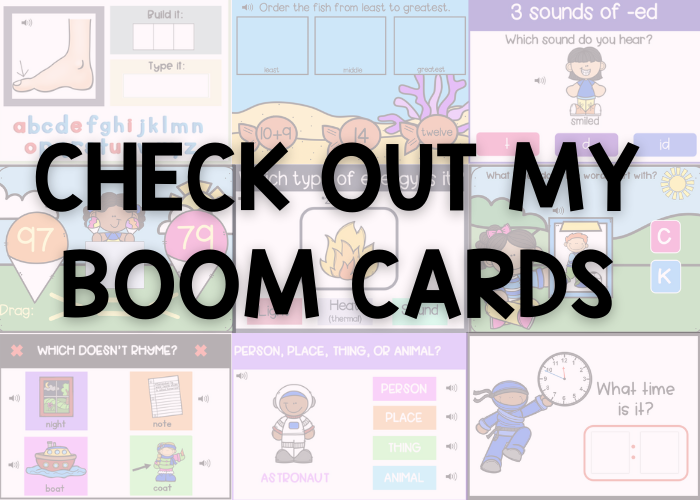
Now that you’ve read all about why I love using Boom Cards for centers, I hope you give them a try if you haven’t already! Be sure to check out all of the Boom Cards I’ve created (listed both on Boom Cards and TPT) that are targeted for K-2 students. I’ve also included a FREE deck below for you to try out!
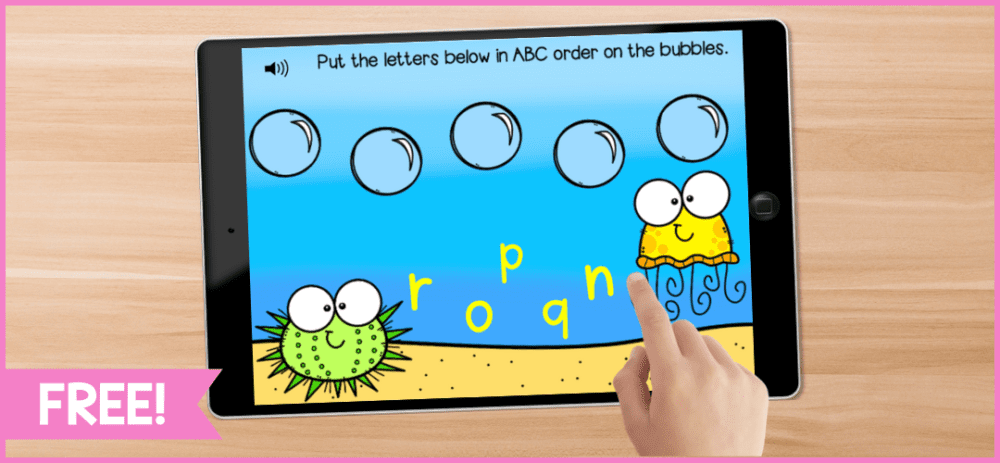
Everyone at my school knows how much I love and value Boom Cards, and I hope you can see value in using them as well. Have any questions for me? Feel free to leave a comment below or reach out via email or Instagram– I’d love to support you in any way I can!

Want to pin this for later?
